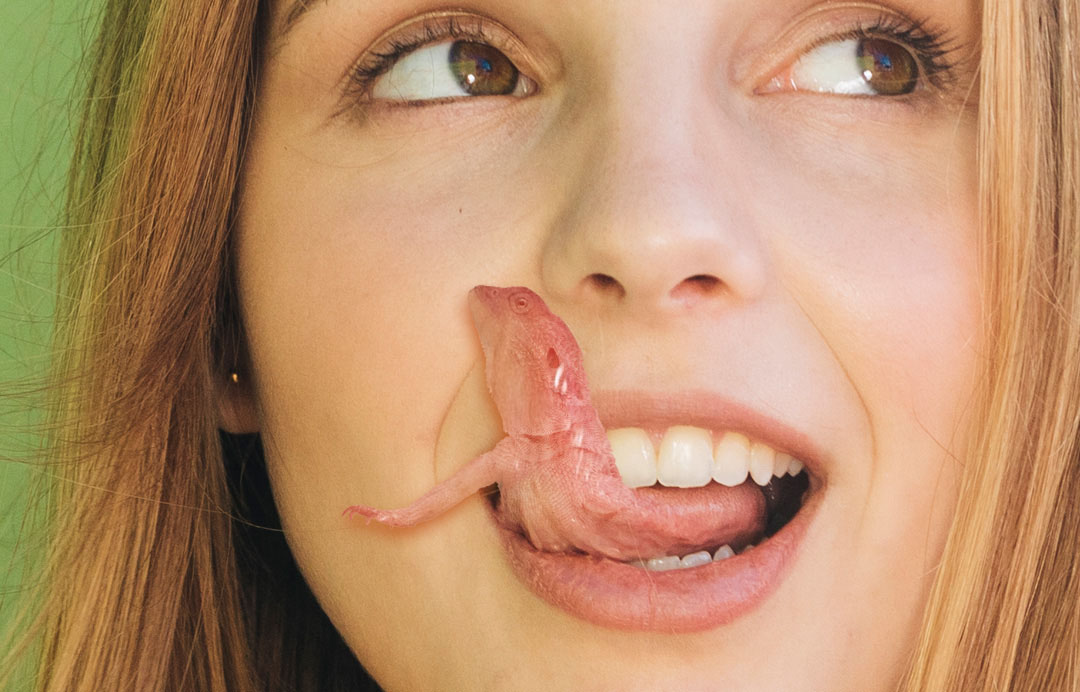
It’s not hard to create Lizard Tongue in Photoshop if you follow step-by-step instructions. Below is a very simple and easy-to-understand Photoshop Tutorial.
Preparation
Download royalty-free images of a girl’s face with the tongue out, and the image of a lizard. You can download them from pixabay.com, pexels.com, freepik.com, or any other royalty-free image website.
Step 1
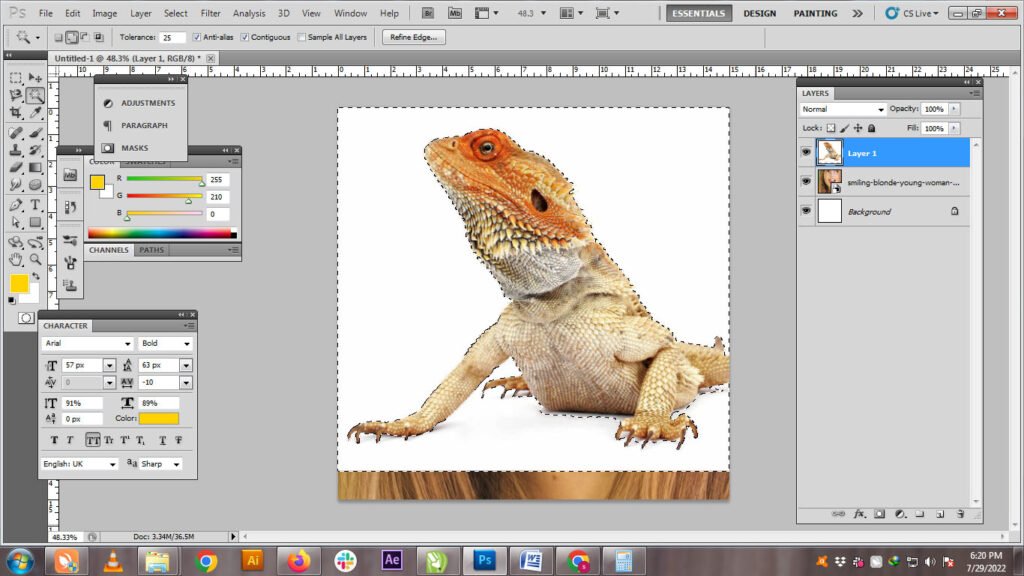
Take a new page sized 1080×1080, and place the image like the below one.

Select the lizard image background with the magic wand tool with tolerance 40 like shown in the below image.
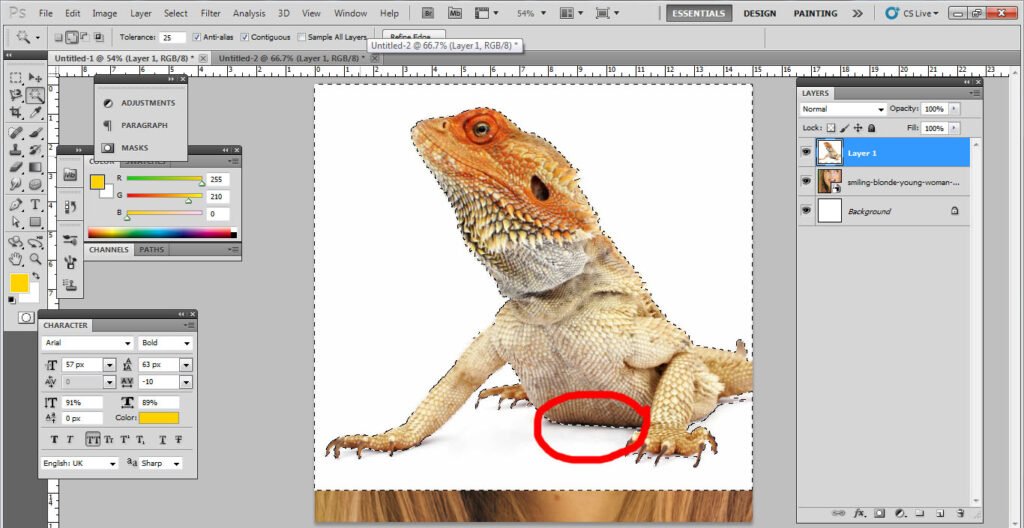
Select rest background with tolerance 25 like the below image.
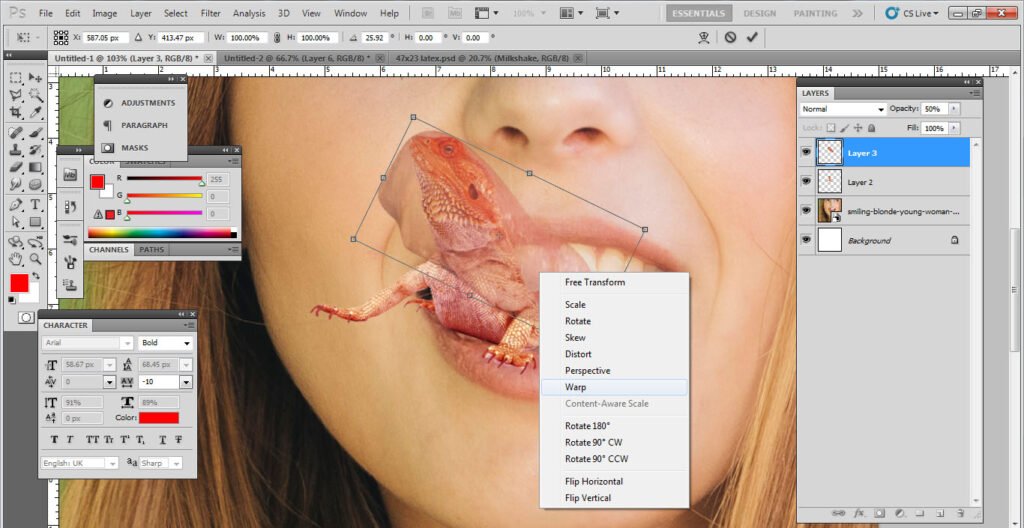
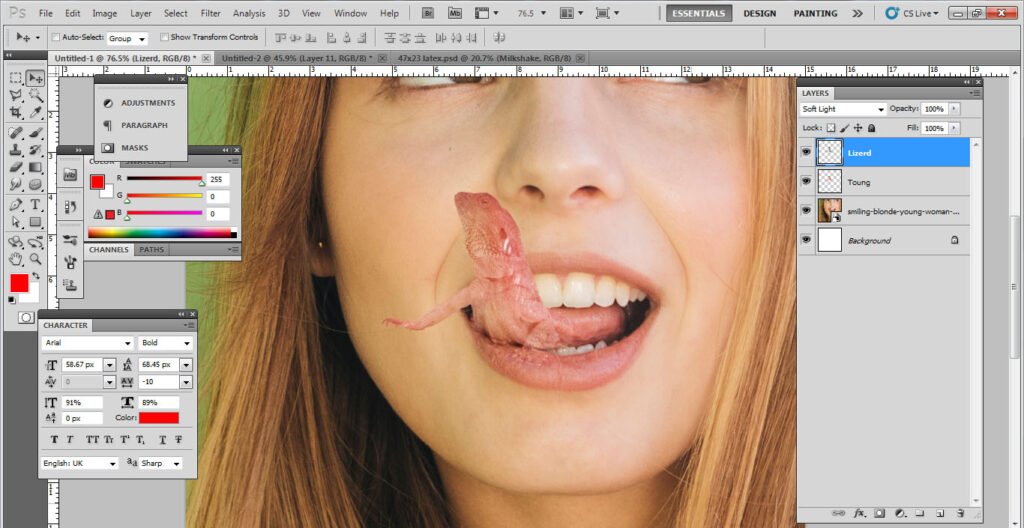
Place the lizard’s image on the tongue of the girl’s image as shown in below pic.
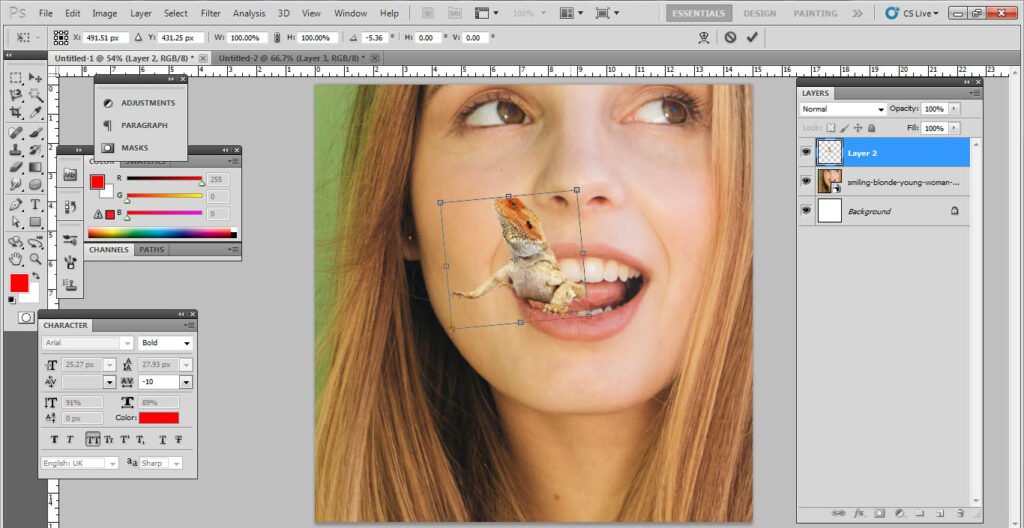
Adjust the color of the lizard and tongue by color balance as shown below.

Now select the tongue.
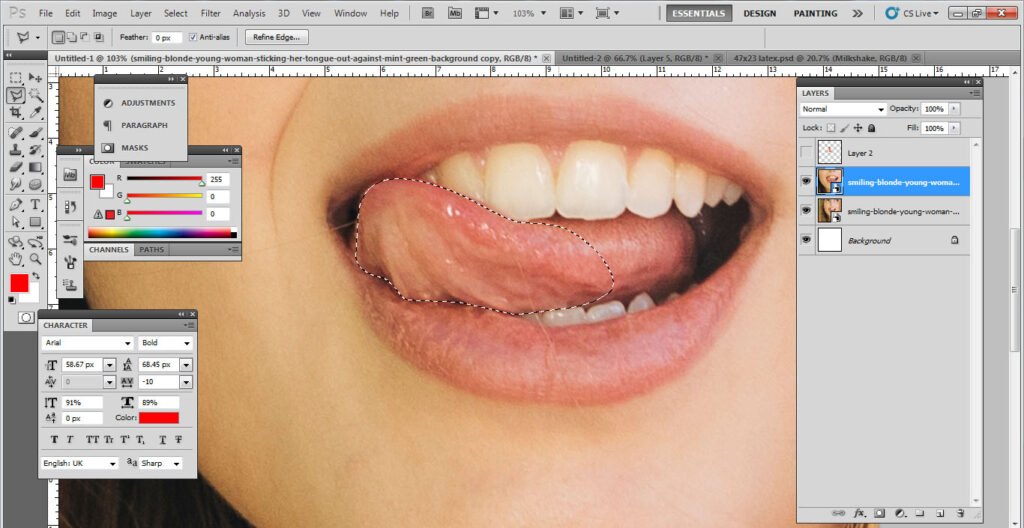
Set opacity of the tongue to 50 and overlap it on the lizard.
Now transform the tongue layer (Ctrl+T), right click, and select the wrap like the below image.
Set the opacity to 100 and clone it as the lizard.
Select the lizard by pressing ctrl and clicking on the lizard layer.
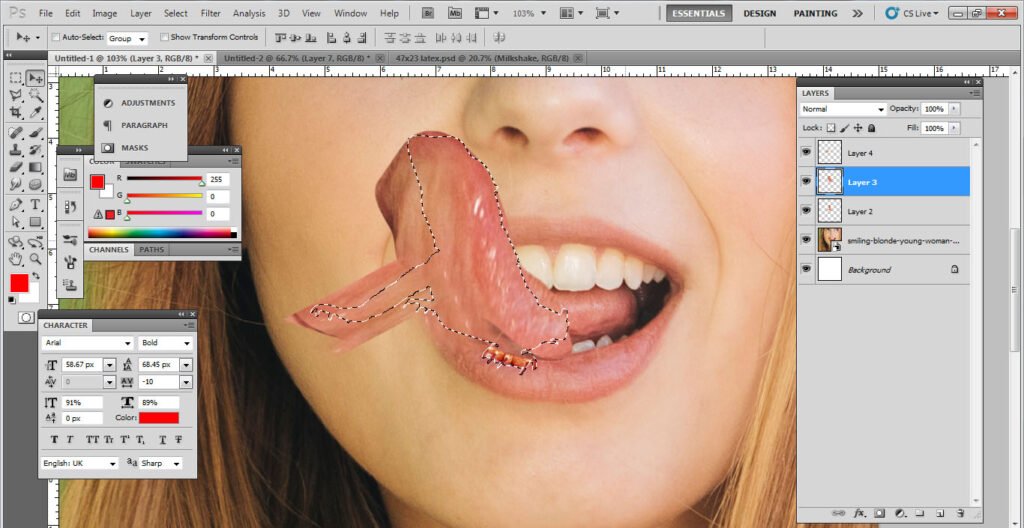
Press Ctrl+shift+I and delete the outer area of the tongue. It is shown in the below image.
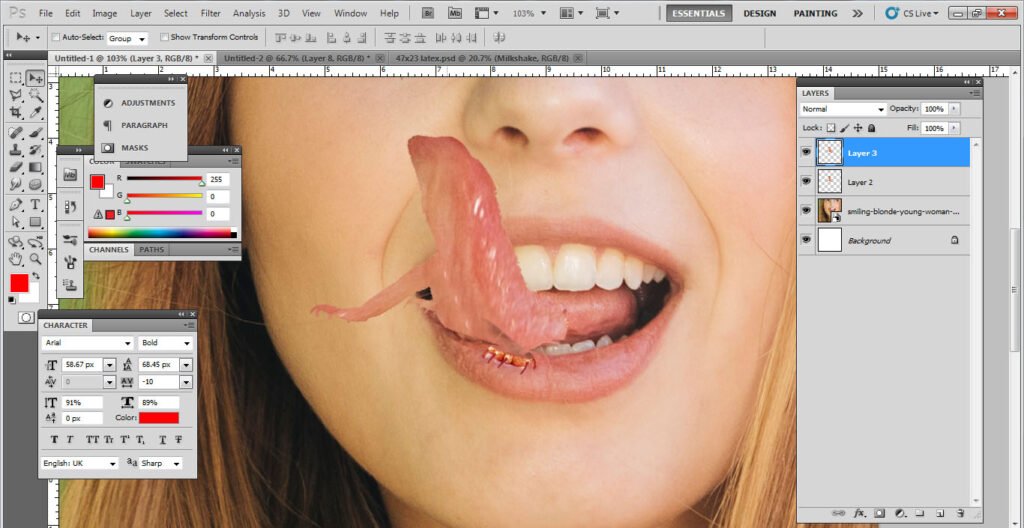
Drag the tongue layer below the lizard layer as shown below.
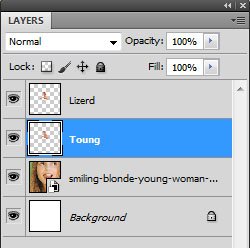
Desaturate the lizard layer and set the blend mode to soft light.
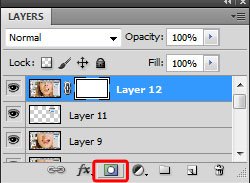
Now add the layer mask, and set the brush to normal with size 90 and hardness 0 ( image brush).
Set the opacity to 60 and brush smoothly with black and white as needed

Now, the lizard tongue is ready in Photoshop.
You may also like to read: